Last Updated on by Azib Yaqoob
New XAMPP comes with MariaDB in place of MySQL. However, if you prefer MySQL over MariaDB, I will show you how to replace MariaDB with MySQL in XAMPP.
Please follow these instructions to change MariaDB to MySQL in XAMPP:
Note: This method has been tested for Windows 10 and 11.
Table of Contents
Backup SQL & Stop MariaDB
- Backup your old database into an SQL dump file.
mariadb-dump -u admin_backup -p -x -A > /data/backup/dbs.sql- Stop the MariaDB service.
Download & Install MySQL
- Rename the folder c:\xampp\mysql to c:\xampp\mariadb.
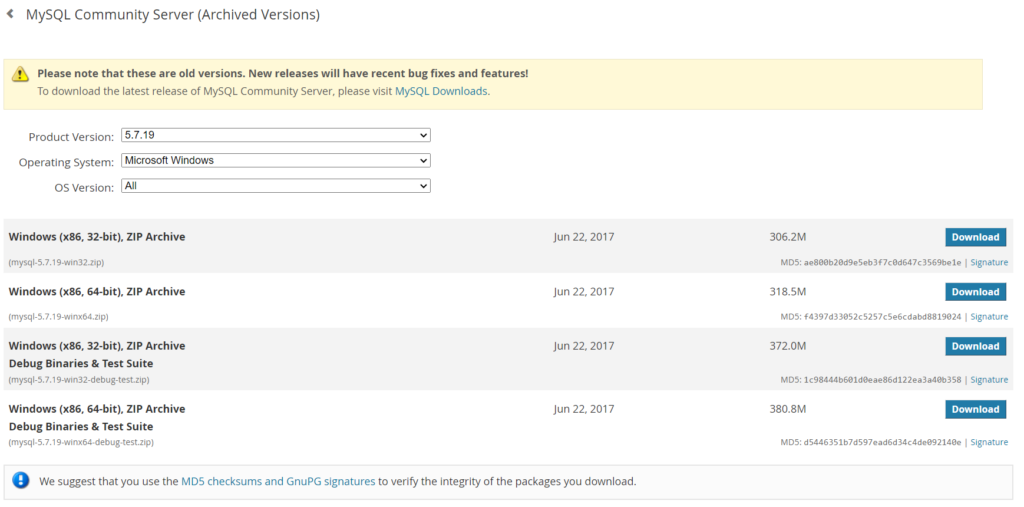
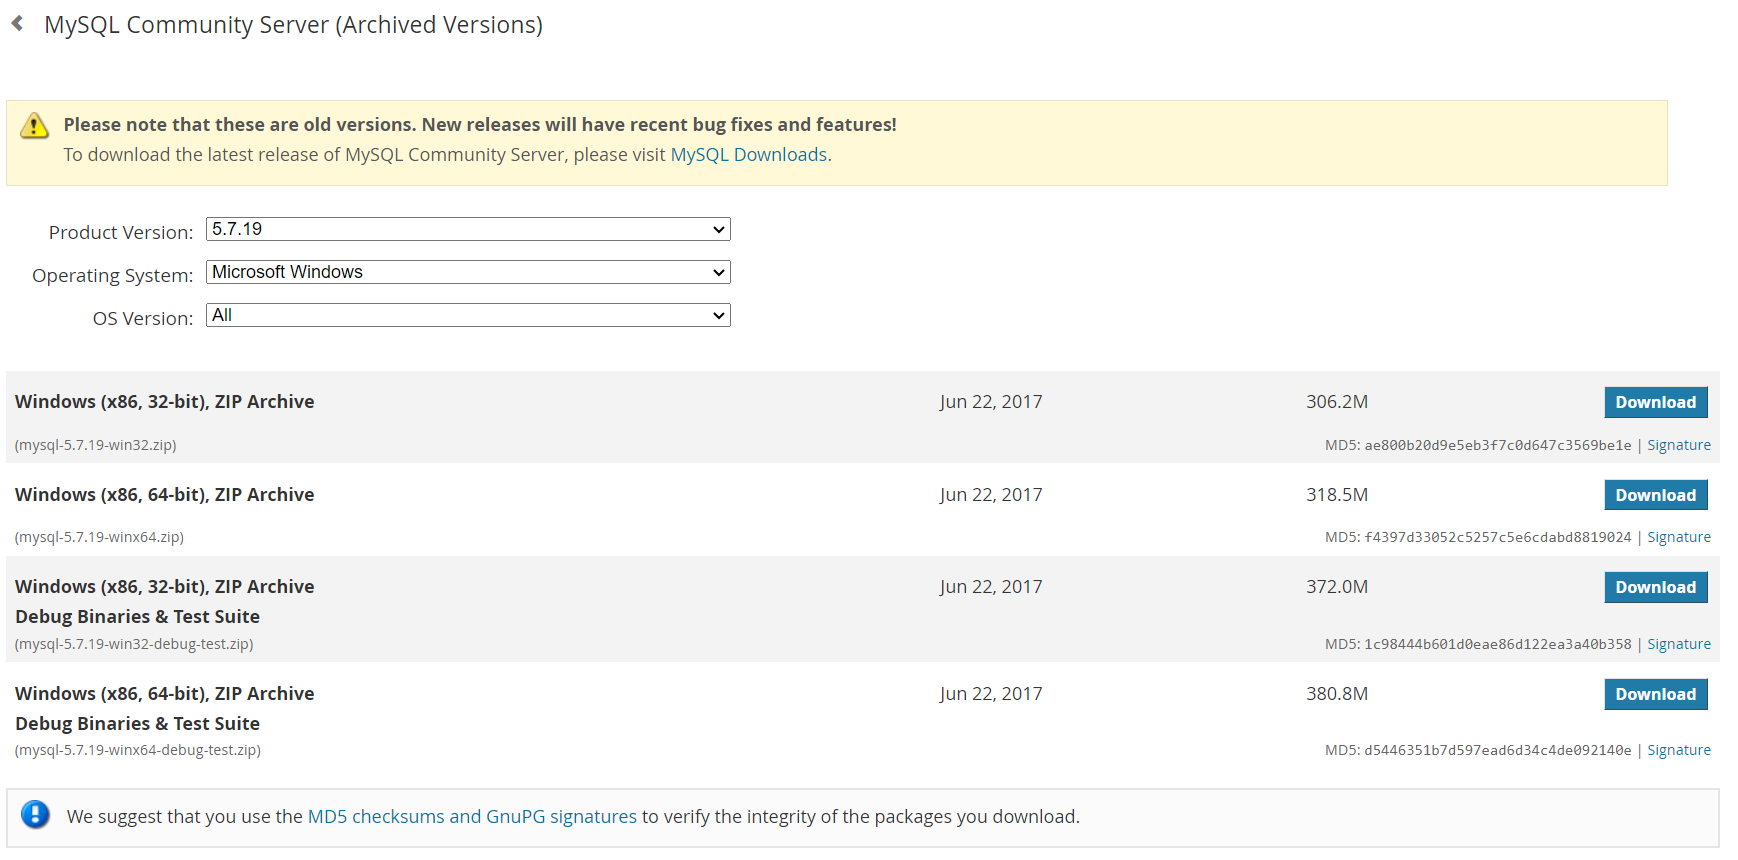
- Download MySQL Community Server.

- Create a new and empty folder: c:\xampp\mysql.
- Extract the downloaded ZIP file into c:\xampp\mysql.
- Create a new and empty folder: c:\xampp\mysql\data.
- Create a new file: c:\xampp\mysql\bin\my.ini and add the following content:
[mysqld]
# set basedir to your installation path
basedir=c:/xampp/mysql
# set datadir to the location of your data directory
datadir=c:/xampp/mysql/data
Initialize MySQL
- Initialize a MySQL installation and enter the following code:
cd c:\xampp\mysql\bin
mysqld --initialize
mysqld --initialize-insecure
Find Root Password
MySQL server creates a ‘root’@localhost’ and a random password.
First, you need to check that the c:\xampp\mysql\data directory was created.
Suppose you find a [computer name].err file in the data folder with the temporary one-time use password for you to log in as root.
open the c:\xampp\data[computer name].err file with any text editor. Copy the password.
Start & Connect the Server
Use the XAMPP Control Panel to start the MySQL service.
- Open a new CMD Console and change the directory to ‘c:\xampp\mysql\bin’.
- Connect to MySQL and enter the password you found in the ‘.err’ file:
cd c:\xampp\mysql\bin
mysql -u root -p- Reset the root password to an empty string:
mysql> ALTER USER 'root'@'localhost' IDENTIFIED BY '';- Exit the MySQL command prompt:
mysql> exit
In this tutorial, we’ve covered the essential steps to replace MariaDB with MySQL in XAMPP.
By following these steps, you’ve ensured a smooth transition while keeping your data and configurations.
Remember to create backups at crucial stages and exercise caution throughout the process. Enjoy working with your new MySQL-powered local development environment!

